There's just something magical about no-bake desserts, especially when they strike that perfect balance between easy and decadent. I remember the first time I laid eyes on an Oreo No-Bake Cheesecake Cup—it was like staring at a promise of happiness in dessert form. One bite, and I was hooked! Not only did it eliminate (some of) the guilt of indulging, but it also gave me an opportunity to showcase my creativity without any baking stress. Now, let’s make some together!
Why you'll love this recipe
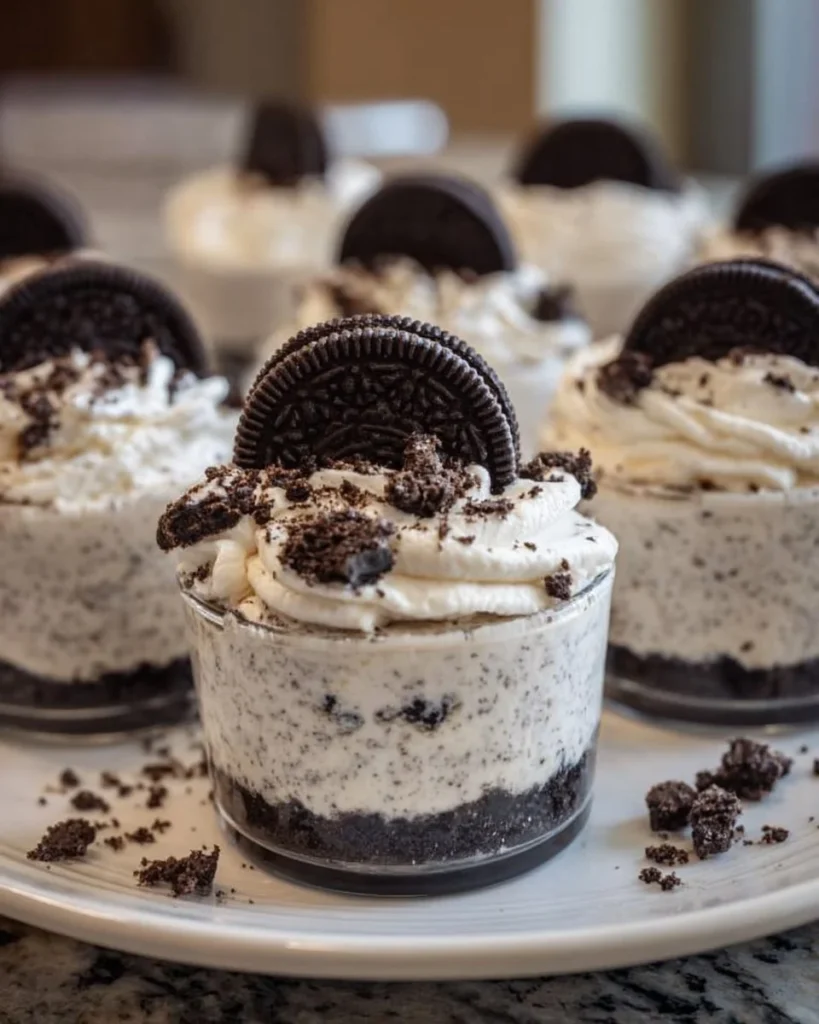
Here’s the scoop: this isn’t just another dessert; it’s an experience! Think about it—a rich, creamy filling nestled on a crust of crushed Oreos, all topped off with more cookies and a dollop of whipped cream. Can you imagine? It’s like a little cup of nostalgia from childhood, yet sophisticated enough to wow your friends at a dinner party.
What really pulls you in is the textural contrast—the crunchy sweetness of the Oreos with the smooth creaminess of the cheesecake filling. This is also a treat that can be whipped up in no time, making it a perfect option for last-minute gatherings or a little self-care treat after a long day. And yes, it’s a crowd-pleaser. Who can resist those iconic black and white cookies?
Gather these ingredients
Let’s dig into what you’ll need—gather these ingredients and we'll be on our way to some deliciousness:
Cream Cheese (1 8 oz block, softened): The star of the show! Make sure it’s room temperature for that heavenly smooth texture. It gives the cheesecake its rich body, so don’t skimp here.
Cool Whip or Whipped Topping (1 8 oz): This is our shortcut to fluffy perfection. If you want to go homemade, just whip your own heavy cream with a bit of sugar until soft peaks form. Trust me, it’s worth the extra effort if you have the time!
Powdered Sugar (2/3 cup): Sweetness is key, and powdered sugar dissolves beautifully into the filling, giving it that silky consistency.
Vanilla Extract (1 tsp): A dash of vanilla elevates everything, filling out the flavors and making it taste like a treat from your favorite bakery.
Oreos (24-26, more if you wish): The beloved cookie! I highly recommend using the classic version, but feel free to experiment with other flavors for a unique twist—mint, peanut butter, you name it!
Preparing Oreo No-Bake Cheesecake Cups
Now, let’s get our hands dirty! I promise this will be easier than you think.
Crush the Oreos: Place the Oreos in a sturdy plastic bag and seal it tight—don’t need any messy spills at this stage. Now, channel your inner baker and crush the cookies using a rolling pin or a heavy spoon until you have fine crumbs.
Set Up Your Dishes: Spoon about 1.5 to 2 tablespoons of those crushed Oreos into the bottom of six small dessert dishes. Make sure the dishes can hold about ¾ to 1 cup of deliciousness. It’s your foundation—so make it count!
Mix the Cheesecake Filling: Grab either a hand mixer or a stand mixer and blend your cream cheese with the powdered sugar until it becomes creamy and smooth. Then, add in the vanilla and give it a quick mix.
Fold in the Cool Whip: Gently fold the Cool Whip into the cream cheese mixture. Be careful not to overmix; we want it light and airy—this step is a serious game-changer!
Add the Crunch: Next, fold in the leftover crushed Oreos. The more, the merrier!
Assemble: Divide the creamy filling evenly across your dishes, gently pressing it down onto that Oreo crust. This will help it stay together when you serve it.
Chill Out: Pop them in the fridge for at least an hour or until you're ready to serve. Patience, my friend—good things come to those who wait.
Top It Off: When you’re ready to impress, add a dollop of whipped cream and sprinkle with more crushed Oreos. This adds extra flair and texture!
Best way to enjoy it
Here’s the thing: these little cups are versatile. Serve them as is, or go a step further. How about drizzling some chocolate or caramel sauce on top? Or maybe add a sprinkle of sea salt to elevate the flavors even more? Pair it with a steaming cup of coffee or hot cocoa on a cozy evening; they’re practically meant for each other.
If you’re feeling adventurous, consider layering these cups in a trifle dish for a crowd-pleasing centerpiece.
Storage and reheating tips
Storing these beauties? No problem! Cover them tightly with plastic wrap or store in airtight containers. They’ll keep well in the refrigerator for up to 4 days. Honestly, they might even taste better the next day as the flavors meld!
You can’t really "reheat" these, but if you have leftovers, just take them out of the fridge before serving to let them warm slightly—it enhances the flavor. Freezing isn’t recommended for the cheesecake filling since the texture might suffer—better to enjoy it fresh!
Helpful cooking tips
A few little insider tips will take your cheesecake cups from good to fabulous. Don’t rush the cream cheese mixing—ensuring it's fully blended creates a smoother filling that melts in your mouth. If you’re looking for a lighter texture, you can even lighten up the Cool Whip with Greek yogurt for some added protein!
Also, don’t be shy with the flavoring—experiment! Try adding a hint of almond extract or a citrus zest for a fresh twist.
Creative Twists
Feeling creative? Why not try some variations? Swap out the cream cheese for mascarpone to add a bit of Italian flair, or use flavored Oreos instead of the classic for something unexpected.
You can even top with fresh fruit like strawberries or raspberries for a refreshing contrast or crunch up some nuts for that added bite. The possibilities are as endless as your imagination!
Ingredients list
- 1 8 oz block of cream cheese, softened
- 1 8 oz Cool Whip or whipped topping
- 2/3 cup powdered sugar
- 1 tsp vanilla
- 24-26 Oreo cookies (more as desired)
Step-by-step instructions
- Crush the Oreos in a sealed plastic bag using a rolling pin.
- Spoon 1.5-2 tablespoons of crushed Oreos into six small dessert dishes.
- In a mixer, blend cream cheese and powdered sugar until smooth.
- Add vanilla, and beat to combine.
- Gently fold in Cool Whip until incorporated.
- Fold in remaining crushed Oreos.
- Distribute the filling evenly across dishes, pressing gently.
- Chill for at least an hour.
- Top with whipped cream and more crushed Oreos before serving. Enjoy!
Common questions
What’s the prep time for this recipe?
Prep takes about 20-30 minutes, plus chill time.
Can I use low-fat cream cheese?
Yes, low-fat or reduced-fat options work well, though the texture may vary slightly.
How long do these last in the fridge?
They’re good for about 4 days in the refrigerator.
What should I pair this with?
Coffee, hot cocoa, or even fresh fruit can complement these perfectly.
Can I make this ahead of time?
Absolutely! They’re ideal for making ahead and chilling until you’re ready to serve.
Every time I enjoy a spoonful of my Oreo No-Bake Cheesecake Cups, I'm reminded of the simple joys that desserts bring. Just like you, I enjoy experimenting in the kitchen, playing with flavors, and inviting friends over to share delicious moments. So why not give this recipe a whirl? Create your own version, have a blast, and let those creative juices flow! Your kitchen adventures await.