Ah, strawberry mochi—what a delightful little package of taste and texture! The first time I tried this Japanese treat, I was instantly smitten. Soft, chewy, and bursting with the sweet juiciness of fresh strawberries wrapped in a delicate rice flour dough? It was love at first bite! Cue my journey into the world of mochi-making, and let me tell you, it’s exhilarating. This treat is not just a snack; it’s an experience. One that’s perfect for sharing with friends, family, or even just enjoying solo with a cup of tea.
In this recipe, I’ll guide you through creating your own strawberry mochi. It’s surprisingly simple, and you’ll feel like a culinary superhero when you take those first bites of your homemade creation. Every chew is a little bit of magic and nostalgia rolled into one.
Why cooking this recipe tonight
You’re going to fall head over heels for this recipe, and I can tell you why! The combination of sweet, juicy strawberries and that wonderfully chewy mochi outer layer is simply divine. It’s like a symphony of textures and flavors in every bite! Plus, it offers a refreshing twist on classic desserts, making it ideal for any occasion—whether you’re celebrating a birthday or just treating yourself after a long week.
And here’s a little secret: mochi is gluten-free, so it’s a great option if you’re looking for something to share that accommodates various dietary needs. Trust me, when you bring out this strawberry mochi at your next gathering, watch friends and family swoon with delight as they revel in the deliciousness. You might even get some cheers and high-fives for putting in the effort!
Gather these ingredients
To create this scrumptious strawberry mochi, you’ll need a handful of simple ingredients that work together like a dream:
1 cup sweet rice flour (mochi flour): This flour is the star of the show! Its glutinous nature creates that perfect chewiness we all crave in mochi.
1/4 cup sugar: Just a touch of sweetness to balance the fresh strawberries and enhance the mochi.
1 cup water: This helps bind our ingredients and create a beautiful, smooth dough.
Fresh strawberries, hulled: The heart of our creation! Use ripe, luscious strawberries for the best flavor. Don’t hesitate to go the extra mile for those sweet gems from a local farmer’s market if you can.
Corn starch (for dusting): This handy ingredient prevents sticking, allowing you to work your mochi with ease.
Sweet red bean paste (optional): This is a fun twist! If you’re feeling adventurous, a dollop of red bean paste pairs beautifully with the strawberries—think of it as a culinary surprise!
The cooking process explained
Ready to roll up your sleeves? Here’s how you can whip up this delightful treat in just a few simple steps:
Mix it up: In a bowl, stir together the sweet rice flour and sugar. Gradually add the water, mixing until it’s silky smooth. You want a lump-free batter here!
Microwave magic: Pour that lovely mixture into a microwave-safe container. Cover it lightly, then microwave for 1 to 2 minutes. Give it a gentle stir every 30 seconds until you see it turning slightly translucent. That’s when you know it’s ready!
Cool and dust: Dust a clean surface with corn starch and pour the mochi mixture onto it. Let it cool just enough so it’s manageable but still warm and pliable.
Knead and divide: Once it’s cool enough to handle, knead the mochi a bit to perfect its texture. Carefully divide it into small pieces—think golf ball-sized.
Form and fill: Flatten each piece into a circle. Place a sweet and succulent strawberry in the center (or a spoonful of red bean paste if you’re feeling fancy). Wrap the mochi around the filling, pinching to seal it tightly to lock in all that juicy goodness.
Dust and serve: Once sealed, give the mochi pieces a dusting of corn starch. This will keep them from getting sticky. Then, it’s time to serve up those beauties and indulge!
Best way to enjoy it
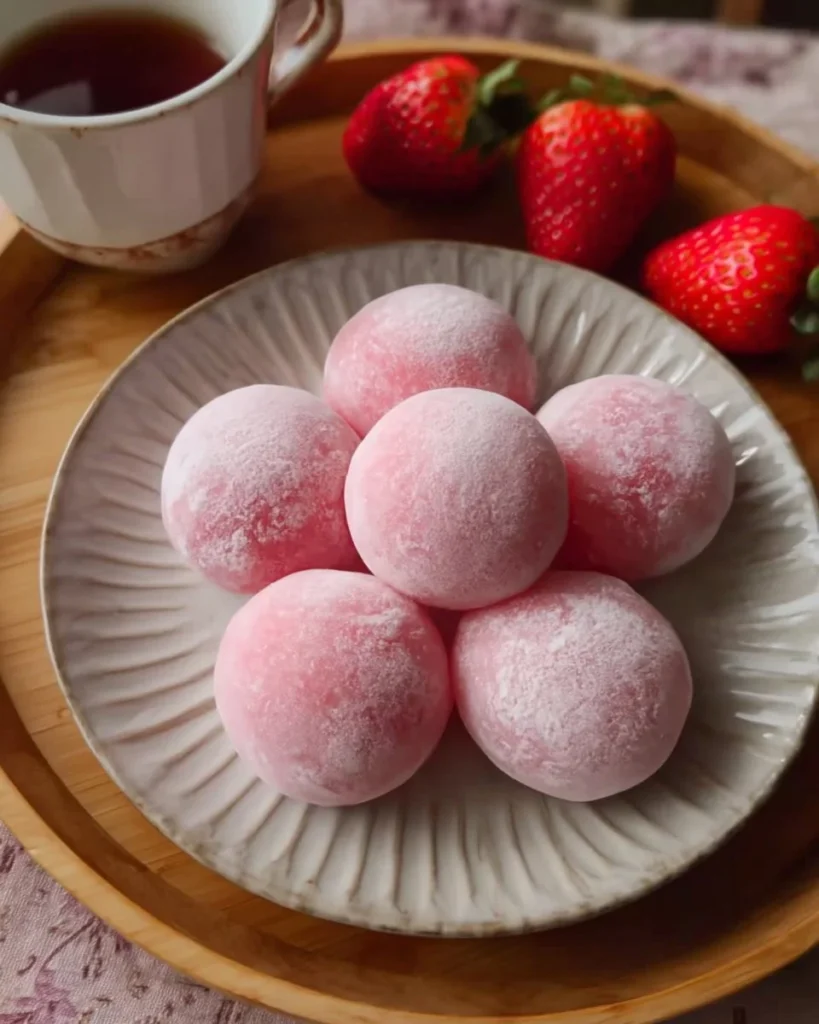
When it comes to serving your strawberry mochi, less is often more. Place them on a beautiful serving platter, letting their soft pastel colors shine. They are delightful on their own, but they also play wonderfully with tea or even some lightly sweetened matcha! You might also consider pairing them with a scoop of vanilla ice cream for that contrast of warmth and cold—a delightful juxtaposition in every sense.
Keeping leftovers fresh
Got some leftover mochi? First off, good for you! They can be stored in an airtight container at room temperature for a day or two. Make sure to dust them with corn starch before storing to minimize stickiness. If you’re looking to keep them longer, freeze them! Just wrap each piece in plastic wrap before placing them in a freezer-safe container. When you’re ready to enjoy them, let them thaw at room temp for a few hours.
Pro chef tips
Here’s where I share the golden nuggets of wisdom!
Don’t rush the cooling: It’s tempting to dive right in, but giving the mochi enough cooling time makes it way easier to handle.
Equipment matters: If you have a steamer basket, consider steaming the mixture instead of microwaving for an ultra-soft texture.
Experiment with flavors: Feel free to replace strawberries with mango or another favorite fruit. The world is your oyster!
Creative Twists
Why not add a little flair? You can flavor the mochi with matcha powder, cocoa, or even a splash of vanilla extract. If you’re adventurous, toss in some chopped nuts or try a different type of fresh fruit for the filling like blueberries or raspberries. The options are endless, and you can get really creative with your combinations!
Ingredients
- 1 cup sweet rice flour (mochi flour)
- 1/4 cup sugar
- 1 cup water
- Fresh strawberries, hulled
- Corn starch (for dusting)
- Sweet red bean paste (optional)
Directions to follow
- In a bowl, mix sweet rice flour and sugar.
- Gradually add water until smooth.
- Pour the mixture into a microwave-safe container.
- Cover and microwave for 1-2 minutes until slightly translucent, stirring every 30 seconds.
- Dust a clean surface with corn starch and pour the mochi mixture onto it.
- Let it cool slightly.
- Once manageable, knead and divide the mochi into small pieces.
- Flatten each piece, place a strawberry (or a little red bean paste) in the center.
- Wrap the mochi around the filling and pinch to seal.
- Dust with more corn starch and serve.
Your questions answered
How long does it take to prepare? A total of about 30 minutes, including prep and cooling time!
Can I use other fruits? Absolutely! Try out kiwi or peaches for a different taste experience.
What if I don’t have sweet rice flour? You can try using regular rice flour, but the texture might not be as chewy.
How can I make this vegan? This recipe is already vegan-friendly; just ensure your sweet red bean paste is too.
Can I make it ahead of time? Yes, and they will still be delicious! Just store them properly, as mentioned.
The vibrant world of cooking is all about exploration and joy. So, gather those ingredients, roll up your sleeves, and embark on this delightful mochi-making journey! Trust me, you’ll impress yourself and others along the way. Can’t wait to hear how it turns out for you—happy cooking!

Strawberry Mochi
Description
Strawberry mochi is a soft, chewy treat filled with fresh strawberries, wrapped in a delicate rice flour dough, offering a symphony of textures and flavors.Ingredients for Strawberry Mochi
Main Ingredients
Instructions for making Strawberry Mochi
Mochi Preparation
- In a bowl, mix sweet rice flour and sugar.
- Gradually add water until smooth.
- Pour the mixture into a microwave-safe container.
- Cover and microwave for 1-2 minutes until slightly translucent, stirring every 30 seconds.
- Dust a clean surface with corn starch and pour the mochi mixture onto it.
- Let it cool slightly.
- Once manageable, knead and divide the mochi into small pieces.
- Flatten each piece, place a strawberry (or a little red bean paste) in the center.
- Wrap the mochi around the filling and pinch to seal.
- Dust with more corn starch and serve.
Nutrition Facts
Servings 6
- Amount Per Serving
- Calories 150kcal
- % Daily Value *
- Total Fat 0g
- Saturated Fat 0g
- Trans Fat 0g
- Cholesterol 0mg
- Sodium 5mg1%
- Potassium 30mg1%
- Total Carbohydrate 35g12%
- Dietary Fiber 1g4%
- Sugars 15g
- Protein 3g6%
- Vitamin A 0 IU
- Vitamin C 10 mg
- Calcium 0 mg
- Iron 1 mg
- Vitamin D 0 IU
- Vitamin E 0 IU
- Vitamin K 0 mcg
- Thiamin 0 mg
- Riboflavin 0 mg
- Niacin 0 mg
- Vitamin B6 0 mg
- Folate 0 mcg
- Vitamin B12 0 mcg
- Biotin 0 mcg
- Pantothenic Acid 0 mg
- Phosphorus 10 mg
- Iodine 0 mcg
- Magnesium 5 mg
- Zinc 0 mg
- Selenium 0 mcg
- Copper 0 mg
- Manganese 0 mg
- Chromium 0 mcg
- Molybdenum 0 mcg
- Chloride 0 mg
* Percent Daily Values are based on a 2,000 calorie diet. Your daily value may be higher or lower depending on your calorie needs.